-
Microsoft’s Azure infrastructure is excellent for a wide variety of reasons, but a lot of the deep functionality a business needs requires setting up additional tools. Among those tools is Active Directory Connect, an Azure tool that connects Azure Active Directory and Office/Microsoft 365 into one relatively seamless whole.
Installing and configuring Azure AD Connect is something many businesses encounter, but it’s also fantastically complicated if you have anything other than the most basic infrastructure configuration for your business. That’s why we put together this step-by-step guide to get you instarted with syncing your data to Microsoft Azure using Active Directory Connect.
Let’s dig in!
Disclaimer: While it’s always going to be better to hire someone to handle the installation for you, we’ll do what we can to offer a relatively generic installation process here. The specific deployment, number of forests, required integrations and Microsoft 365 products and features, and network setup are going to vary from machine to machine. It’s recommended that this installation is performed by a Microsoft Certified Azure expert. We’re not liable for any data loss that might occur from your installation.
What Is Azure Active Directory Connect?
Azure AD Connect is a relatively small tool that serves as a way to connect your existing Microsoft or Office 365 product with Azure Active Directory. This is, essentially, a way of combining both an on-premises environment and a cloud infrastructure into a hybrid infrastructure, suitable for most businesses. As such, installing Azure AD Connect is quite common, though it’s often something hired out as a one-time managed service due to its complexity.
Azure AD Connect offers a wide range of useful features in a hybrid cloud and on-premesis environment. Among these are:
- A synced login system that hashes passwords and syncs them between on-prem AD and Azure AD.
- Pass-through authentication that doesn’t require a federated environment.
- Optional integration of federation in a hybrid environment.
- Synchronization of everything from users, groups, and objects to information between cloud and on-premises data stores.
- Health monitoring for your infrastructure.
There’s a lot you can do with AD Connect, but more than anything it simply serves to merge and synchronize a cloud and an on-premises environment to make one more seamless whole. This is crucial for businesses looking to grow into a hybrid environment, or who want synchronicity between two existing yet disparate environments.
What You Need to Start
Before you can begin the installation process, you need to make sure you have all of the Azure AD Connect prerequisites in place. While there’s a lot of flexibility, you need to meet certain requirements before you can begin.
First, you need an Azure AD Tenant. You may already have this if you use Azure AD with a license, or with the free trial, which comes with a tenant managed through either the Azure portal or the Office portal. The free trial can be obtained here if you don’t have a tenant set up already.

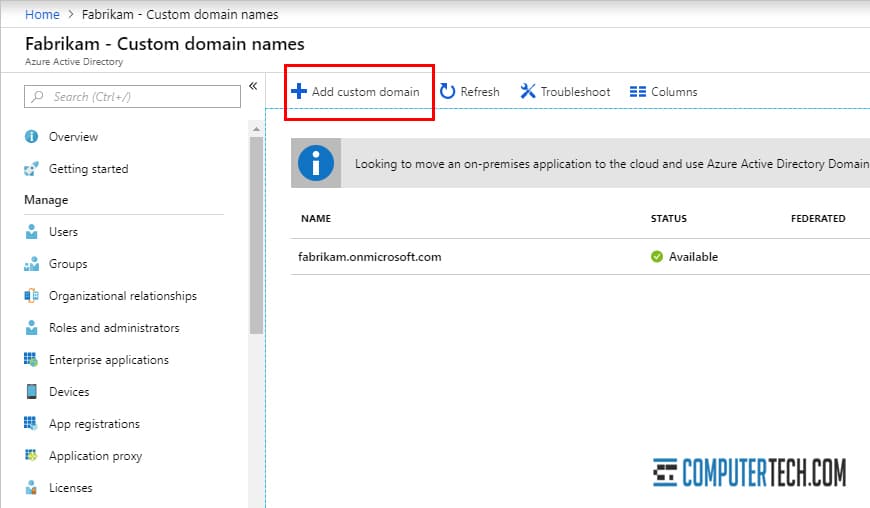
You also need your Azure AD domain verified. You can’t use the default *.onmicrosoft.com domain for AD Connect. This requires you to have a registered domain name, and you will need to add and verify it with Azure Active Directory. You can follow the instructions on how to do this here.
Note that if you need more than a specific number of Azure AD objects, you may need to take additional steps. A tenant allows up to 50k objects without a verified domain, and up to 300k with a verified domain. By contacting Microsoft support, you can get up to 500k objects without a license. If you need more than that, you will need a premium license for Azure AD.
You will also need a plan for what Azure AD Connect features you want to use. This list contains the service features and synchronization options you will have available to you. We recommend making a list of the features you want before you start the installation. Mid-installation is not a great time to be making decisions for business processes, after all.
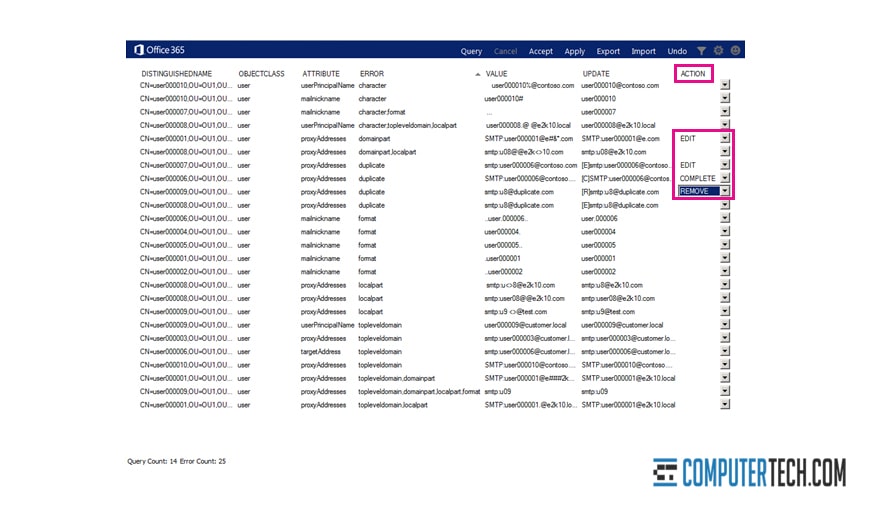
Before you can properly run Azure AD Connect, you will need to make sure your Active Directory Domain Services does not have any outstanding errors. Even if you’re not aware of any existing errors, you should at least download and run the IdFix tool that Microsoft provides. You can find the tool as well as the instructions on how to run it here.
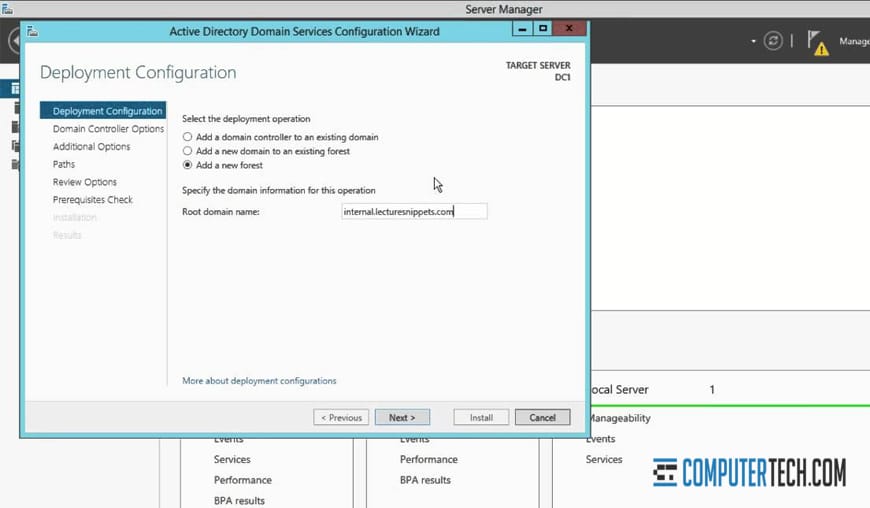
The machine and environment that hosts Azure AD Connect must be on a domain-joined Windows Server 2012 or later, Standard or better (not small business server or server essentials before 2019). You need the full GUI installed, and you cannot have PowerShell Transcription Group Policy enabled. If you plan to deploy federation, there are additional requirements.
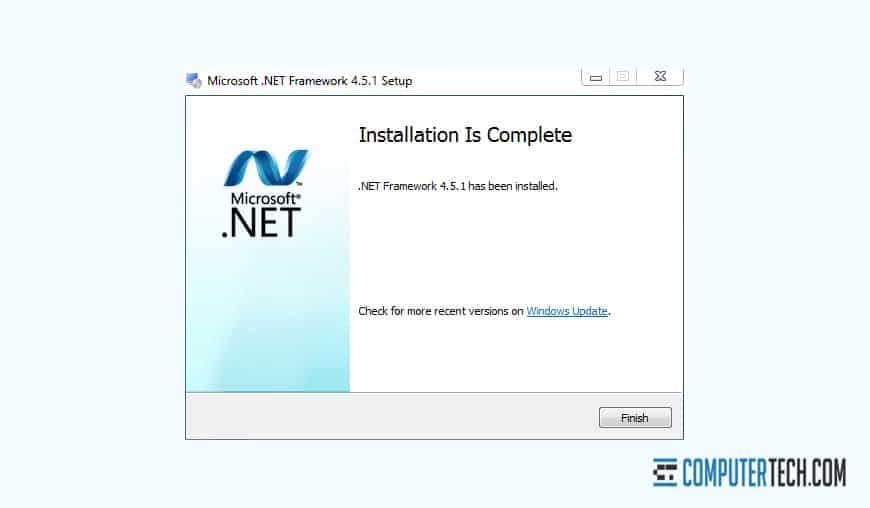
In some cases, you will need to install the latest version of PowerShell, as well as .NET Framework 4.5.1 or later.
At the same time, make sure that your on-premises version of Active Directory is configured and capable of using Azure Connect. Your schema version and forest functional level must use Windows Server 2003 or later, though of course, this is subject to change if Microsoft pushes a new version to upgrade those requirements. Your domain controller can run any version so long as the schema and forest are correct.
Note that if you plan to use password writeback in Azure AD Connect, you will need your domain controllers on Server 2008 R2 or later.
Your domain controller must be writeable, not RODC. You also cannot use NetBios names for your forests or domains that contain periods.
Make sure to use proper data security for the device running the Azure AD Connect server. Access to this administration panel includes access to identity data and should be secured accordingly. Treat it as Tier 0. Make sure that the Microsoft secure URL “https://secure.aadcdn.microsoftonline-p.com” is in the trusted sites list if your admins use MFA.
Finally, make sure your Active Directory recycle bin is enabled. This is a safety and backup feature to help prevent accidental data loss, though you may also consider a backup service as well.
There are also additional requirements and prerequisites for hardening your server, using SQL server, managing accounts, and ensuring connectivity, all documented here.
Beginning Installation
Once you are sure you have the prerequisites in place, you will need to determine what features you want to use with Azure AD Connect, if you didn’t above. This, as well as understanding your on-premises architecture, will determine whether you can use the Express Installation for Azure AD Connect, or if you need to use custom settings.
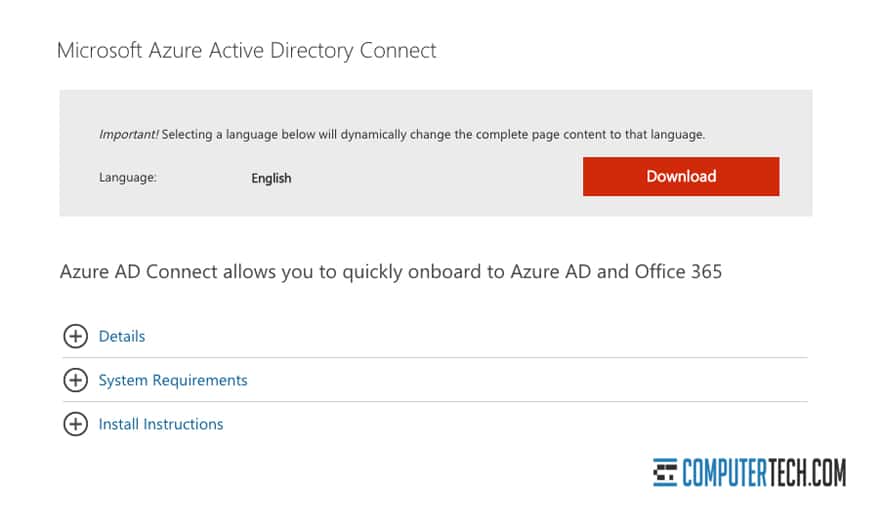
If you can get away with using the express installation, simply download and run the installer for AD Connect on the appropriate device. Express installation is largely handled on its own and will need a minimum of configuration and babysitting. This works for a single forest AD where users sign in with the same password using synchronization.
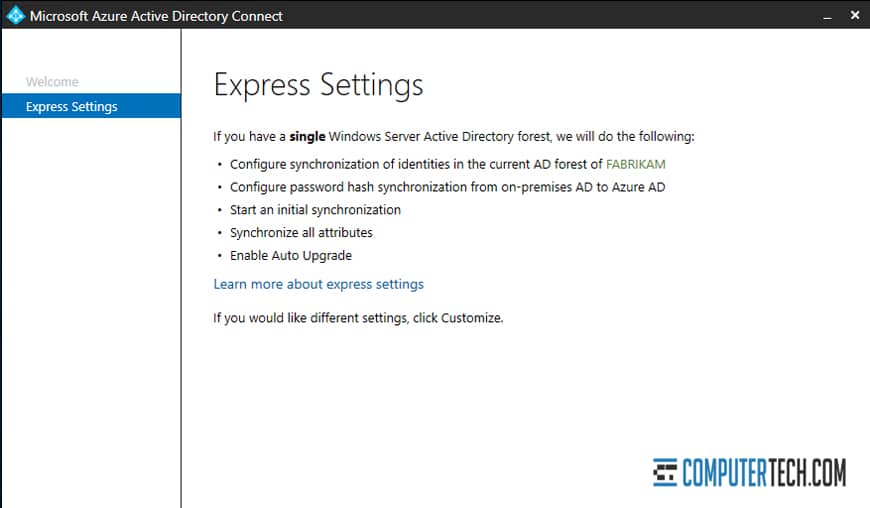
For a very simple installation, the Express Settings might be enough for you.
If you have multiple forests, if you want custom sign-in options, or if you want custom sync features, you will need to use the custom settings option. If you currently use DirSync, you can also perform an upgrade installation.
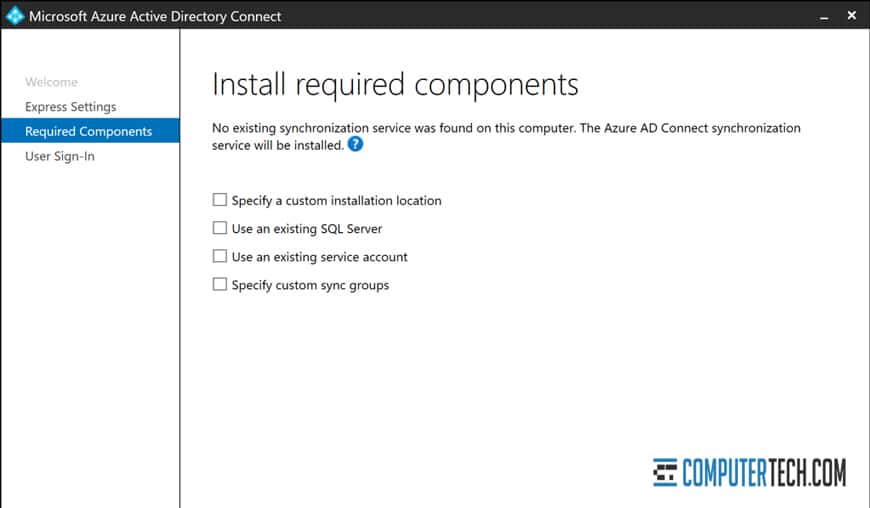
To install using custom settings, on the page for express installation, click on customize. You will be asked which required components you plan to install. You can specify a custom installation location, using an existing SQL server, use an existing service account, or specify custom sync groups. Decide which you’re using and follow the wizard’s instructions to set it up.
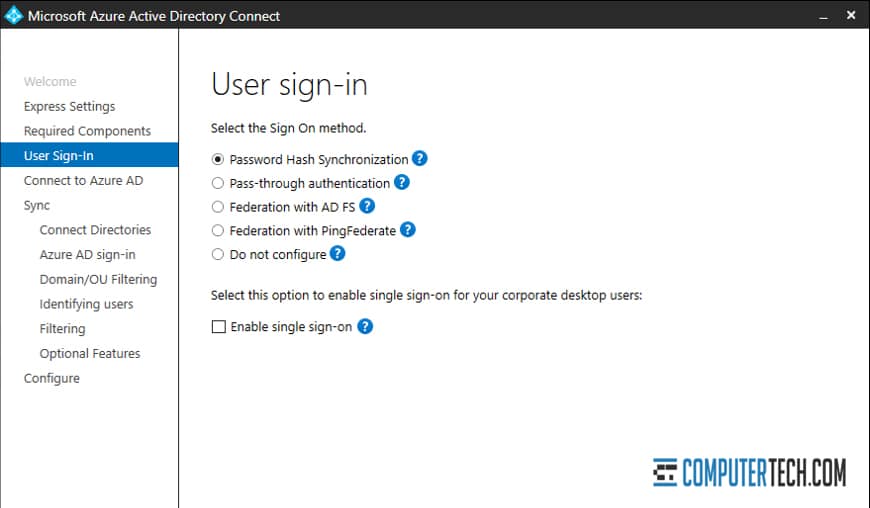
Next, specify the kind of user sign-in schema you want to use. You can use password hash synchronization, pass-through authentication, federation with AD FS, federation with PingFederate, or you can leave it unconfigured. You can also enable single sign-on for some environments, though this is not available for AD FS customers through AD Connect, as it’s already available.
Next, you will need to provide the installer with the credentials for the AD Global Administrator account. If MFA is enabled, you will need to provide a code to continue.
Next, you will need to choose your sync options. This includes picking the directories to connect, configuring Azure AD sign-in, setting up domain or OU filtering, identifying users, setting up filtering, and enabling any optional features you want to use. By default, all domains and OUs are synchronized, so you only need to configure this section if you want to specify some to exclude.
User identification involves setting up which piece of data will be the unique identifier for your users. If users are only represented once throughout all directories, keep this default. If they have multiple unique identities, choose which attribute (such as mail attribute, ObjectSID, or MailNickName) you want to be their unique identifier. You will also need to choose which attribute Azure AD will use to identify them.
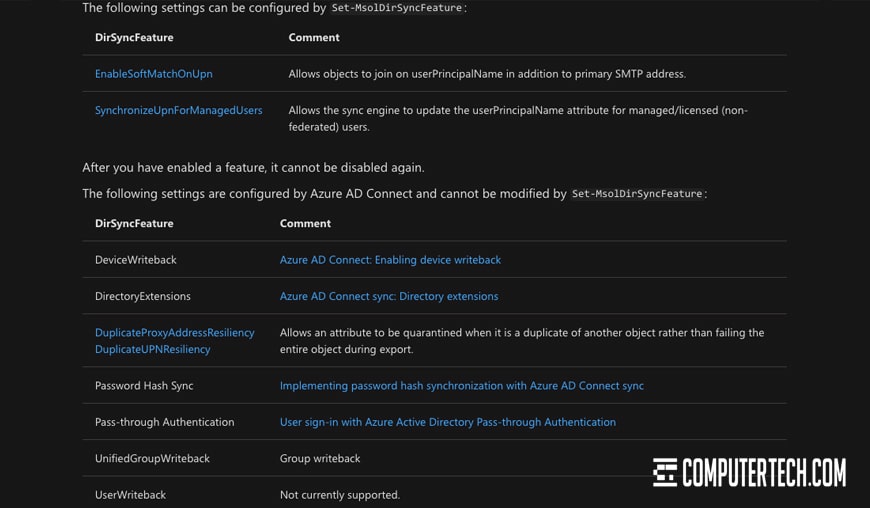
Optional features you can choose to enable include:
- A hybrid deployment with Exchange. This allows for the co-existence of Exchange mailboxes and Office 365.
- Exchange mail public folders. This lets you sync public mail folders with AD Connect.
- Filtering for Azure AD by app and attribute. This adds two more configuration pages to the wizard.
- Password hash synchronization. One of the more common syncing features with AD Connect.
- Password writeback. Enabling this allows password changes in Azure AD to reflect back on your on-premises directory.
- Group writeback. This allows sync of groups in Office 365 Groups.
- Device writeback. This allows for conditional access scenarios in Active Directory.
- Directory extension attribute sync. This is exactly what it sounds like.
Once your sync settings are configured, you can then choose to enable single sign-on, if applicable. This allows multiple forests to be managed through a single set of credentials. You will need to add credentials for each forest that AD Connect will manage.
There may be additional configuration necessary for specific additional options. Progress through these as instructed by the wizard and your configuration needs.
Verifying Installation
Before you can begin using Azure Active Directory Connect at scale, you will need to verify that your installation has been successful. You will also need to assign any licenses necessary.
For example, to assign an Azure AD Premium or Enterprise license, you will need to sign on to the Azure portal, choose Active Directory, choose the user or users you want to set up, choose licenses, choose the license, click assign, and fill in the information it asks for.
Perhaps most importantly, you will want to verify that a scheduled synchronization task is enabled and functional. To do this, sign in to Azure, choose Active Directory, then choose Azure AD Connect. Verify the most recent sync, and that sync is enabled.
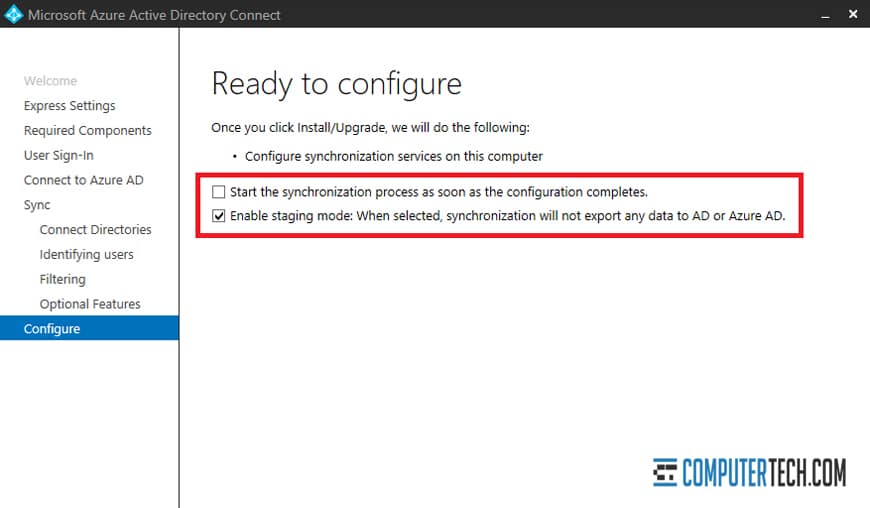
If you need to start a new sync task, run the Azure AD Connect wizard and configure custom synchronization options. On the “ready to configure” screen, make sure the “start sync process when configuration completes” box is checked, and finish configuration to enable the task. You can then configure additional sync tasks by following these steps.
The Simpler Alternative
If all of the above made your eyes glaze over a bit, don’t worry; even many IT specialists find that some of this can be unnecessarily complex. Every business has their own unique set of forests, federated properties, and other environments, and it can be a long and complex task to pin down what exists, what needs to be configured, what needs to be repaired, and what features your business wants to use when configuring sync across a new hybrid environment.
The best alternative is to hire a company to handle this for you. Specialists who have handled hundreds of Azure AD Connect installations will have checklists and established processes that make sure to cover all of the bases for the prerequisites, make sure there are no errors in existing data, configure various sync options properly, and manage everything cleanly.
In fact, the Azure Active Directory Connect installation is the number one outsourced service for Azure-related IT assistance and services. If you find yourself getting stuck during the setup, or if your installation cannot be verified or won’t connect or sync to your server, don’t be too upset – this is one of the more difficult installations to set up yourself. It’s much better to have your instance properly configured and deployed today than have to completely re-do it in the future.
If you’re interested in this service, please contact us to discuss your unique situation and the requirements you’ll need to continue. Trust us; it’ll be much faster and easier this way.
About The Author

IT Support | IT Services | IT Consultant | Computer Support
Speak to a Human (856) 347-2282

- Home
- About Us
- Services
- IT Support
- Managed IT Services
- IT Consulting and Strategy
- IT Security Services
- IT Infrastructure Services and Networking
- Help Desk and Onsite Support
- Communication and Collaboration
- Specialist IT Services
- Data Backup and Disaster Recovery
- Cloud Computing
- Optimizing Network Consulting Services
- Remote Monitoring and IT Management
- Business Computer Services and Consulting
- Blog
- Contact Us
Navigation- Home
- About Us
- » About Computer Tech
- » What To Expect
- Services
- » IT Support
- » Managed IT Services
- » IT Consulting and Strategy
- » IT Security Services
- » IT Infrastructure Services and Networking
- » Help Desk and Onsite Support
- » Communication and Collaboration
- » Specialist IT Services
- » Data Backup and Disaster Recovery
- » Cloud Computing
- » Optimizing Network Consulting Services
- » Remote Monitoring and IT Management
- » Business Computer Services and Consulting
- Blog
- Contact Us
A Step by Step Install of Azure Active Directory Connect


In need of IT Services or IT Support? Call us today at (856) 347-2282
About Us
Computer Tech is an IT Consultant \ Computer Consultant firm providing Computer Support, IT Support and IT Services in South Jersey, IT Support Fort Lauderdale, IT Services Delaware, IT Services New Jersey, Philadelphia Pennsylvania.
(856) 347-2282Get started:
Managed IT Services
Nationwide IT Support
Managed IT Support New Jersey- Pros and Cons of Outsourced SOC (Security Operations)
- How to Find and Eliminate Wi-Fi Interference in the Office
- 7 Tips to Wire Up an Office to Maximize Wi-Fi Speed
- Can You Still Recover Hard Drive Data if It’s Water Damaged?
- How New Technology Has Changed the Modern Workplace
- The Pros and Cons of Outsourcing Your IT Department
- Custom Gaming Installations for New Jersey Businesses
- Computer Installation in New Jersey – How Does It Work?
- How to Hire an IT Team to Build an Office Network
- The Benefits and Future of Remote IT Support for Businesses
Newsletter

Computer Tech, LLC.
105 Market Pl Suite 1, Glassboro, NJ 08028
(856) 347-2282
© Copyright 2025 HighTech Business Solutions. All Rights Reserved.